If your rental fridge feels barely bigger than a lunchbox, these small fridge organization ideas are for you. Every grocery trip becomes a game of Tetris, and produce goes bad before you remember it exists. The fix isn't a bigger fridge — your landlord isn't upgrading anytime soon. It's a system: zones, bins, and a simple routine that make a small apartment fridge work twice as hard.
Organizing a small fridge is a weekend-afternoon project that costs very little. A set of clear pull-out bins ($10–$20 for a multipack), a few stackable containers, and the zoning method below can turn a cramped, smelly box into a fridge where you can actually see — and use — everything you buy.
Start With a Full-Fridge Reset
You can't organize around expired mustard and mystery leftovers. Before buying a single bin, pull everything out one shelf at a time and sort into three groups: keep, toss, and "belongs in the pantry, not the fridge." Condiments you haven't touched in six months? Toss them — and corral the survivors with a tiny spice and condiment system so bottles stop taking over the door. Bread, onions, tomatoes, and most spices move to no-pantry storage where they last longer anyway, freeing up real estate immediately.
While the shelves are empty, wipe them down with warm soapy water and dry thoroughly, paying attention to seals and crisper drawers where old drips collect — that's the source of most lingering fridge smells. Measure your shelf widths and heights while everything is out: apartment fridges vary wildly and "standard" organizers often don't fit, so buy to your measurements, not the box's promises.
Snap a quick photo of your empty fridge before you start. It becomes your reference whenever the fridge drifts toward chaos — you'll see exactly where each bin belongs.
Set Up Fridge Zones That Fit a Rental Kitchen
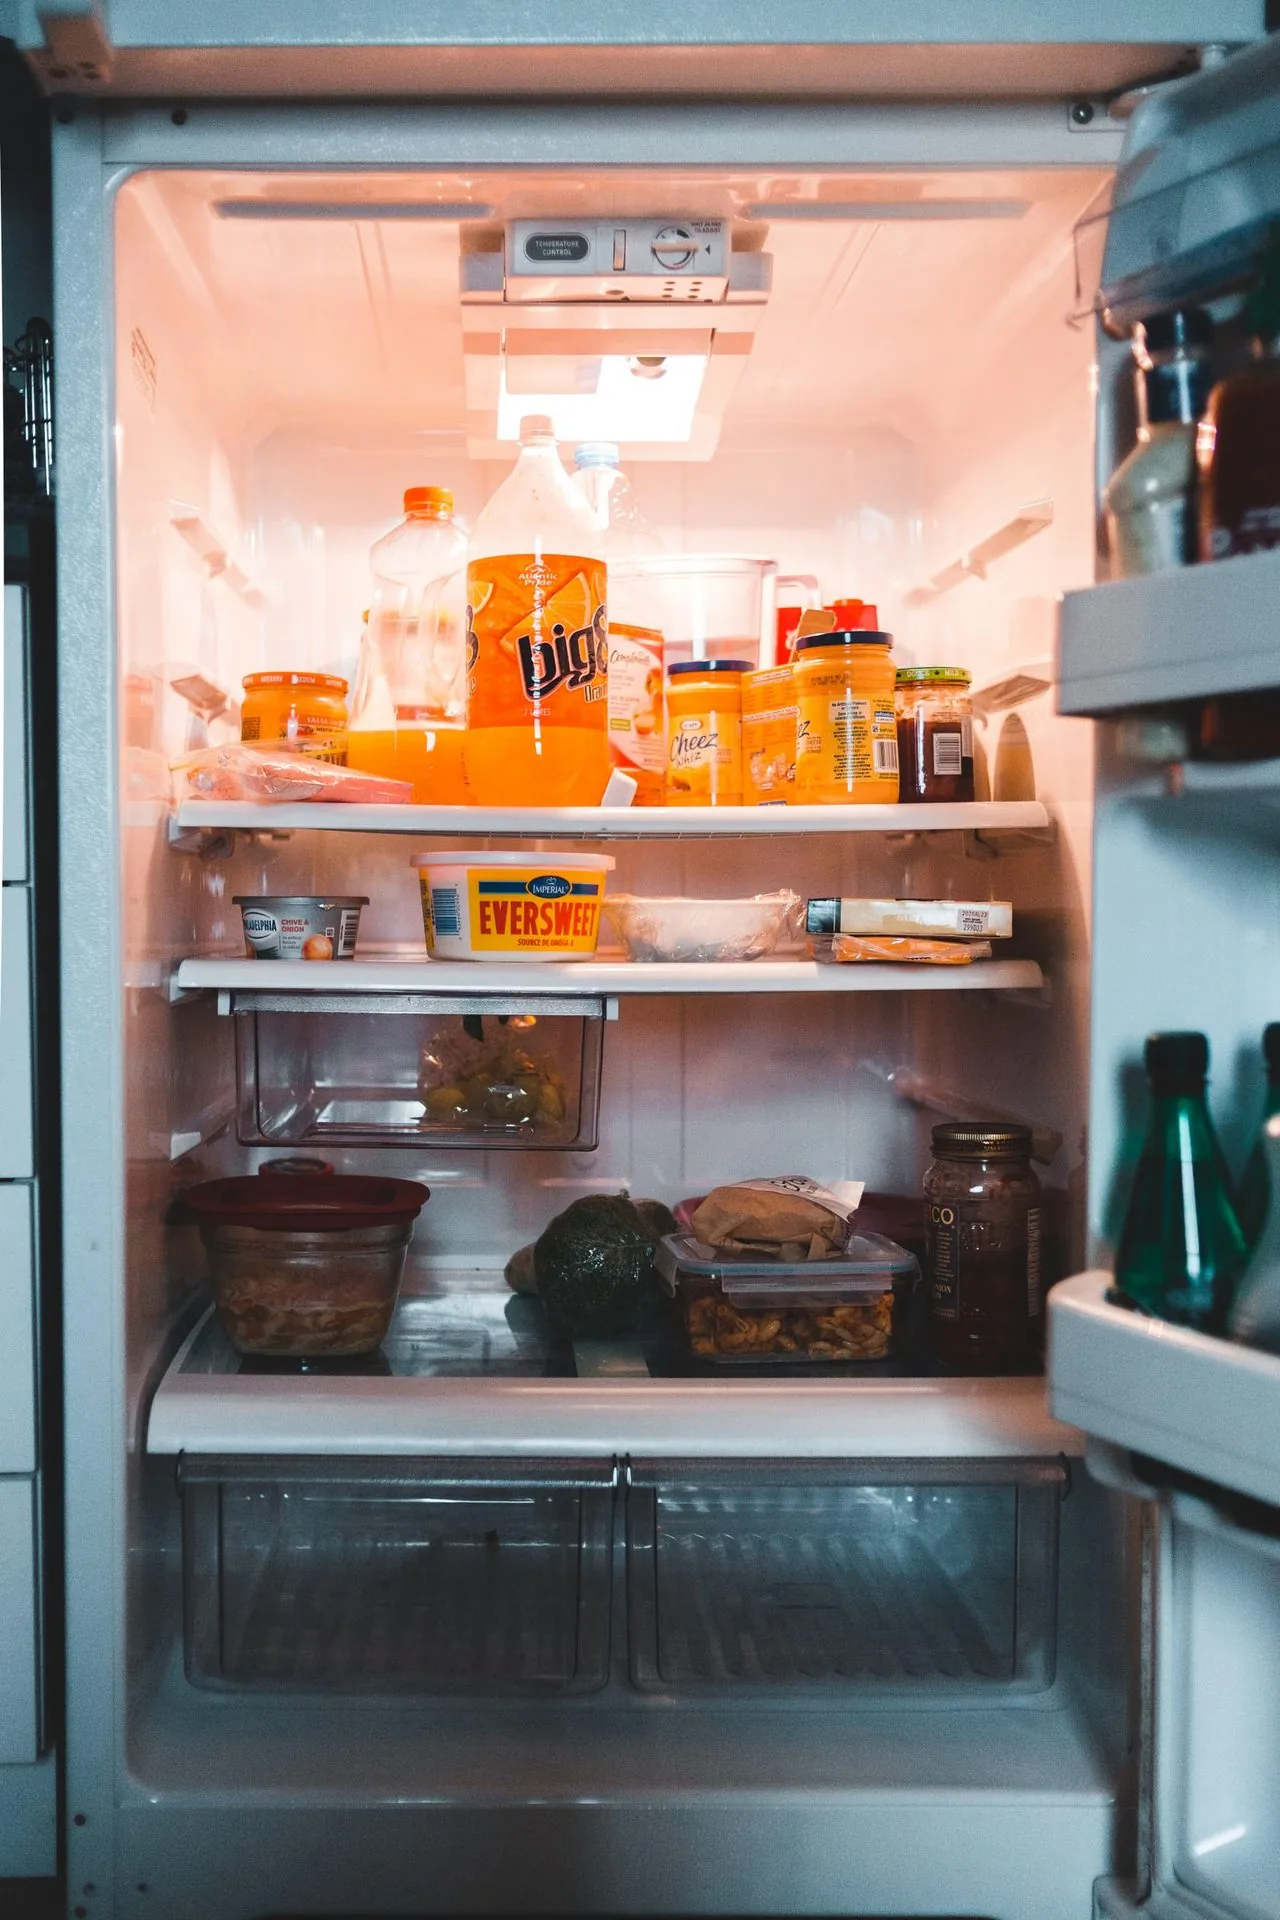
Zones are the core of the system. Assign every shelf a job based on temperature and use: the back of the top shelf is usually the coldest spot, so it becomes the "dairy and leftovers" zone. The middle shelf is your "ready-to-eat" zone — drinks, snacks, prepped food. The bottom shelf (or crisper, if you have one) is for raw meat and produce that needs the most care.
Door shelves are the warmest area, so use them only for items that tolerate temperature swings: condiments, pickles, bottled water. Never store milk or eggs in the door of a small fridge — the constant opening hits them hardest, and the swing is bigger in a compact fridge than you think. Keep one door shelf free as a flex spot for tall or odd-shaped items that would otherwise steal shelf space.
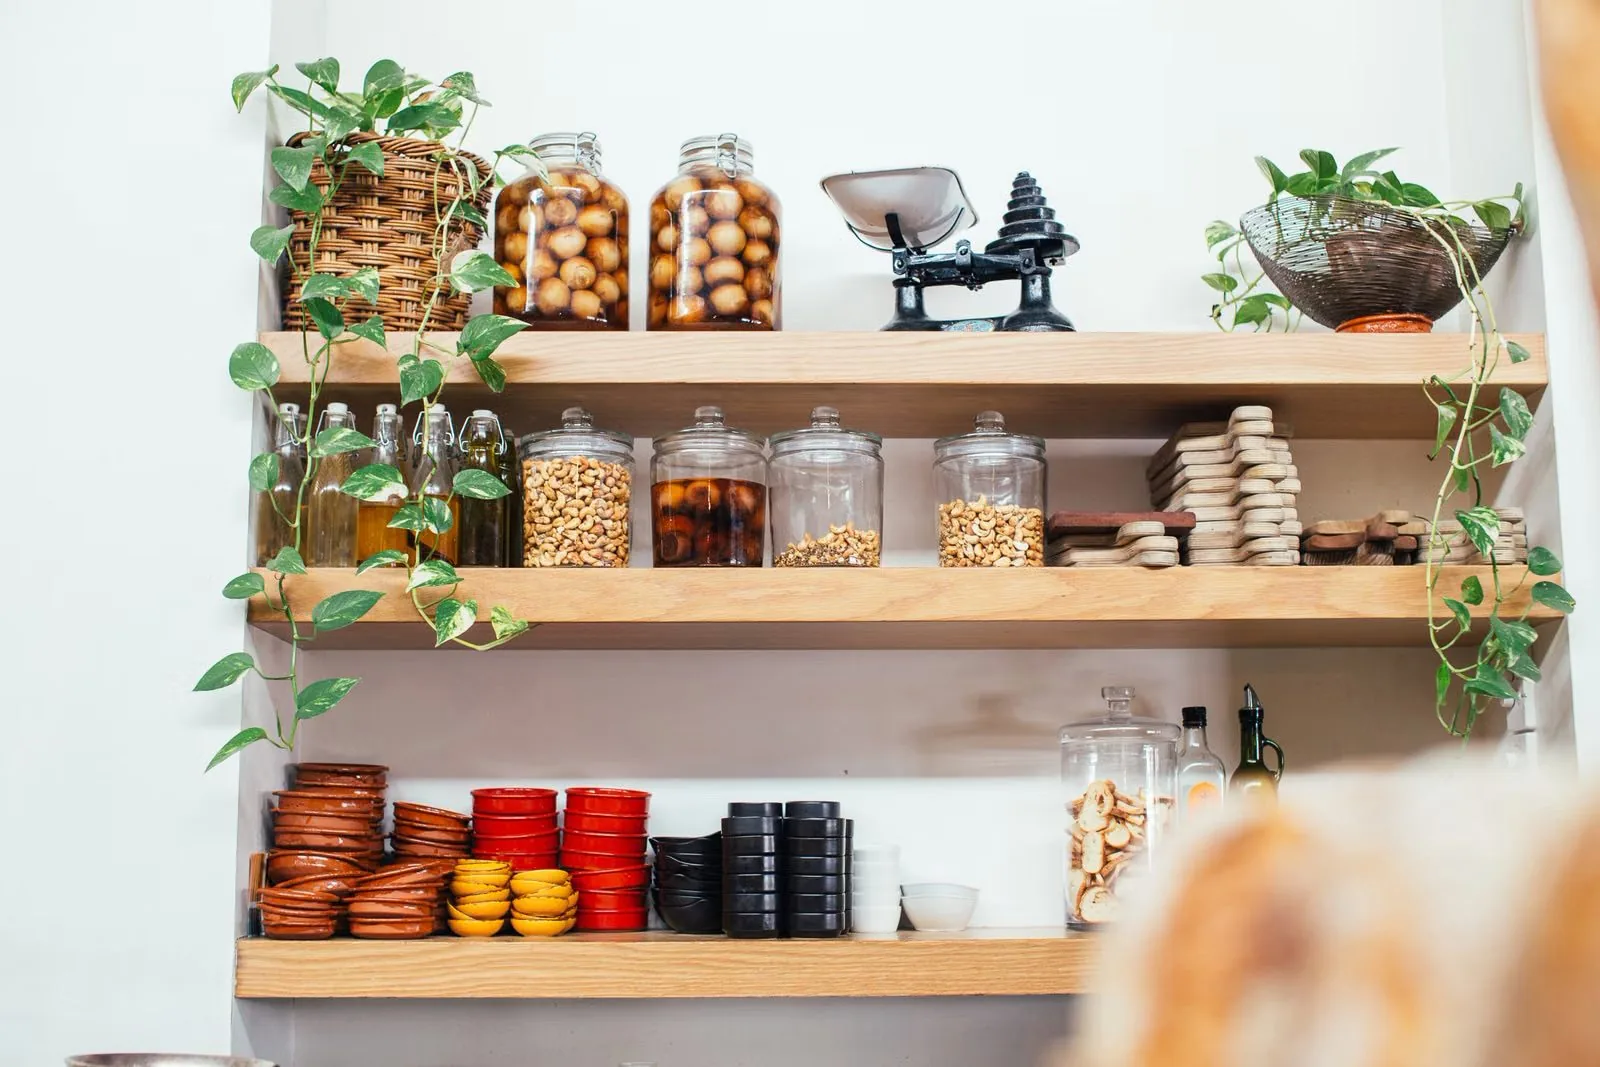
Don't forget zones beyond the fridge. Anything that doesn't truly need refrigeration — bread, tomatoes, onions, most fruit — clogs precious cold space. Moving those items to a well-organized counter or pantry alternative gives your fridge instant breathing room.
Note: No crisper drawers? Assign the bottom shelf as your produce zone and keep raw meat on the shelf directly above it, on a rimmed tray in case of drips. Same safety logic, zero extra equipment.
Choose Fridge Bins That Actually Fit a Small Fridge
This is where most people go wrong: they buy deep, wide bins sized for a family refrigerator, then discover they only fit sideways. For apartment and mini fridges, look for narrow, shallow bins designed for compact or dorm refrigerators. A bin that wastes even an inch on each side is eating space you can't spare.
The winning combination:
- Two or three clear pull-out bins ($10–$20 for a multipack) — one for snacks, one for drinks, one for grab-and-go breakfast. Pulling out the whole bin beats reaching into the back.
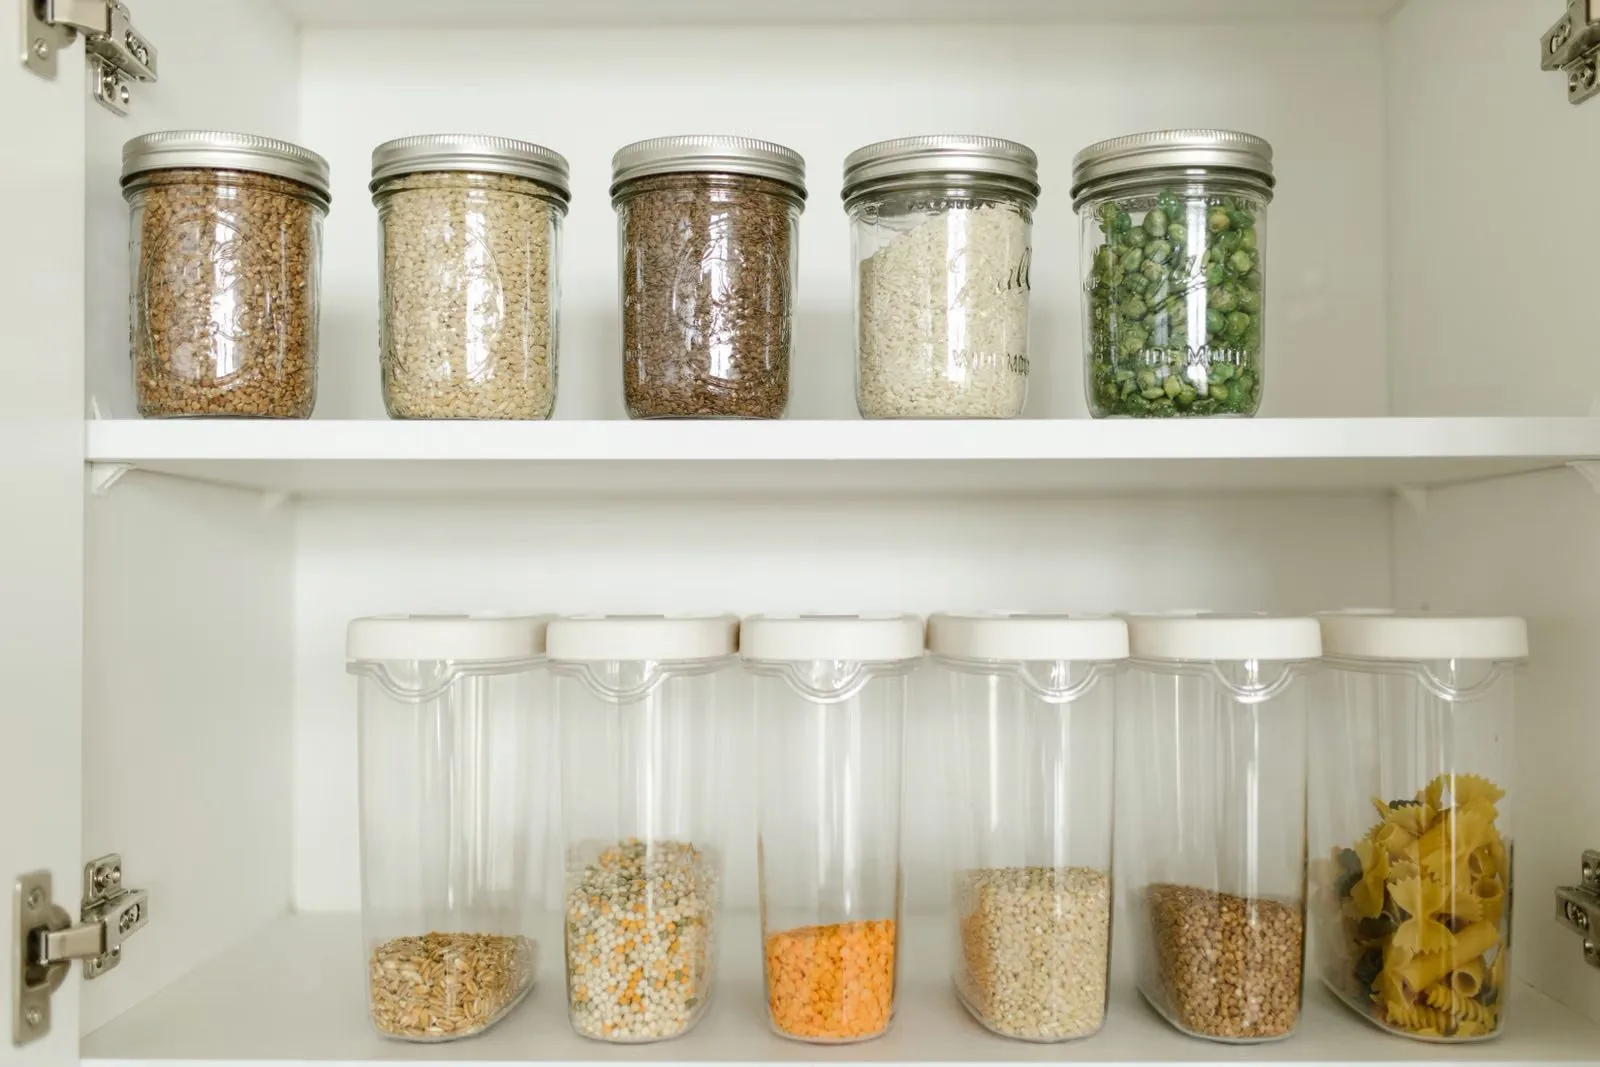
- Rectangular stackable containers with airtight lids for leftovers and prepped food. Square or rectangular beats round every time — round containers waste roughly a quarter of shelf space to dead corners.
- One small turntable if you have a deep shelf, so the back half stops being a graveyard for forgotten jars.
- A short shelf riser for the tallest shelf, creating a second level for cans or drinks.
Label bins with simple removable labels ("Snacks," "Breakfast," "Eat Me First"). Labels are what make the system survive roommates, partners, and tired late-night snack raids — when everything has a printed home, the system resets itself instead of drifting back to chaos.
How to Fit More in a Mini Fridge
Fitting more in a mini fridge comes down to three principles: go vertical, decant, and ditch the air. Stacking is your superpower — two stacked square containers hold the same food as one wide bowl using half the footprint. A shelf riser turns one tall shelf into two usable levels.
Decanting — pouring things out of bulky packaging — pays for itself instantly. Cereal boxes, multipack snack boxes, and oversized cartons are mostly air and cardboard. Move contents into smaller stackable containers, toss the box, and watch space appear. Fruit comes out of the store bag into a shallow container; a 12-pack of cans becomes two stacks of six that fit a riser shelf.
Ditch the air by repackaging bulkier items flatter. A gallon of soup in a tall stockpot takes up an entire shelf; divided into two shallow rectangular containers, it fits stacked on one shelf with room to spare. Flat storage bags pressed air-free for meats and cheeses slide between shelves like envelopes. Break big containers into flat, stackable ones the moment groceries come home.
Load the door fully with bottles and jars, and save every inch of shelf depth for food that needs to lie flat or stack. Doors are wasted space in most rental fridges — fill them before putting jars on shelves.
The "Eat Me First" System and FIFO Routine
The number one reason small-fridge food goes bad is invisibility: what you can't see rots; what's at the front gets eaten. The "eat me first" bin fixes this — one dedicated bin, front and center on the middle shelf, holding everything that expires soonest: half-used ingredients, leftovers from two nights ago, the yogurt that expires Thursday. When you open the fridge deciding what to cook, that bin is your first answer.
Behind the bin, run a simple FIFO routine: first in, first out. New groceries go behind or under the old ones, so the oldest items are always the ones you see first. It adds about two minutes to grocery put-away and cuts food waste dramatically — which matters when your grocery budget is small and your fridge is smaller.
Pair this with a weekly five-minute audit right before you shop: pull the eat-me-first bin, toss anything past its point, and plan one meal around what's left. Clear containers matter more in small fridges because you can't afford "out of sight, out of mind." That weekly audit is the maintenance loop — ten minutes max — that keeps the whole system running indefinitely.
Keep a Small Fridge From Smelling
A small fridge concentrates odors because there's less air to dilute them. The classic fix still works: an open box of baking soda at the back of the middle shelf, replaced monthly (write the date on the box with a marker). But baking soda only handles the baseline — prevention does the real work:
- Seal strong foods in airtight containers — onions, leftover fish, open tuna. Loose wrap leaks air; a real lid doesn't.
- Wipe up drips the day they happen. Spilled milk on a shelf becomes a smell factory within days, especially in a warm rental kitchen.
- Try activated-charcoal fridge deodorizer packs ($8–$12 for a multipack) for persistent odors — they last longer than baking soda and handle strong smells better.
- Toss ancient condiments. That half-used salsa from three months ago is quietly contributing to the funk.
If the smell survives a full clean-out, check the drain hole at the back bottom of the fridge cavity — a clogged drain traps moisture and breeds odor, and a flush of warm water with a cotton swab usually fixes it. If a rental-provided fridge still smells after all this, document it and ask your landlord: failing door seals are their repair, not yours.
Pin this: Back of top shelf = coldest (dairy, leftovers). Middle shelf = ready-to-eat + your Eat Me First bin. Bottom shelf = produce and raw meat. Door = condiments only — never milk or eggs.
FAQ
What are the best bins for a small apartment fridge?
Narrow, shallow, clear pull-out bins sized for compact or dorm refrigerators — deep wide bins meant for family-size fridges usually won't fit. Measure your shelf width, depth, and height before buying; a $10–$20 multipack of compact bins is typically enough. Rectangular shapes stack and line up better than round ones.
How do I stop food from getting lost in a mini fridge?
Use an "eat me first" bin front and center for anything expiring soonest, and run a FIFO routine — new groceries go behind the old ones so the oldest items stay visible. Clear containers matter more in small fridges because "out of sight, out of mind" is expensive. A weekly five-minute audit before grocery shopping keeps the system honest.
Why does my small fridge smell even when it's clean?
Small fridges concentrate odors since there's less air to dilute them, and warm rental kitchens accelerate spoilage. Baking soda replaced monthly handles the baseline, but check the real causes: a clogged drain hole at the back, expired condiments, or poorly sealed strong foods. If a rental-provided fridge still smells after a full clean, ask your landlord — failing door seals are their repair.
Should I store milk and eggs in the fridge door?
No, especially not in a small fridge. The door is the warmest area with the biggest temperature swing each time you open it. Keep milk, eggs, dairy, and leftovers on shelves — the back of the top shelf is typically coldest — and reserve the door for condiments, pickles, and drinks that tolerate temperature changes.