You don't need a spacious kitchen for a proper coffee ritual — you need a corner. These renter friendly coffee station ideas are built for tiny rental kitchens where counter space is precious, drilling is off-limits, and everything has to earn its place. A dedicated station keeps your morning routine smooth instead of scattered across three cabinets.
The secret is containment: one defined spot where the coffee maker, mugs, pods or beans, and extras all live together. No drilling, no permanent changes, and you can build the whole thing for as little as $25. Here's how to create a coffee corner in a rental that looks intentional — not like appliances having a meeting on your counter.
Start With the Tray-on-Counter Method (The Zero-Budget Start)
If you have even one square foot of counter to spare, the tray-on-counter method is the fastest coffee station you'll ever build. Take a large tray, a cutting board, or even a rimmed baking sheet, and place everything coffee-related on it: the coffee maker, a small jar of beans or pods, your two favorite mugs, and the sweetener. The tray is the station — it visually groups everything into one zone and, crucially, it catches drips and spills so your landlord's counters stay pristine.
The tray enforces a boundary: if a new gadget doesn't fit on it, it doesn't belong in the station. Renters with almost no counter should do a counter organization reset first — clearing one tray-sized footprint is easy once duplicates and rarely-used items are relocated.
Choose a tray with a lip or rim so nothing slides off, and put a small washable mat or folded tea towel under it for extra spill protection. Dark trays hide coffee stains better than light ones — a small practical detail you'll appreciate by week three.
Build a Rolling Cart Coffee Station
When there's genuinely no counter space to give, a rolling cart coffee station is the answer. A three-tier cart ($25–$60 depending on size and material) becomes a complete coffee bar on wheels: top tier for the coffee maker and daily mugs, middle tier for pods, beans, teas, and filters, bottom tier for extra mugs, a small trash bin for used pods, or backup supplies.
The wheels are the whole point: roll the cart next to the counter in the morning, roll it back to its parking spot when you're done. Your coffee station exists when you need it and vanishes when you don't. For more uses beyond coffee, see rolling cart ideas for small kitchens.
A few cart-station specifics that matter:
- Power access: park the cart near an outlet, or use a short extension cord rated for the coffee maker's wattage. Never daisy-chain power strips for a heating appliance — one cord, one outlet.
- Top-tier stability: coffee makers vibrate. Keep the machine centered on the top tier and don't overcrowd the edges — mugs sliding off a wobbly cart is a morning you don't need.
- Water logistics: keep a small water pitcher on the middle tier so you're not carrying the reservoir across the kitchen. In a tiny kitchen, fewer trips with full water containers means fewer spills.
- Heat-safe mat: a silicone mat under the coffee maker protects the cart's finish from heat and drips.
Dedicate the cart's lowest tier to a small lidded trash bin just for coffee waste — used pods, filters, tea bags. It keeps the station self-contained so you're never carrying drippy filters across the kitchen to the main trash.
Mug Storage Without Wall Damage
Mugs are the silent space-killer of every coffee station. A household of two easily accumulates eight to twelve mugs, and they don't stack neatly. In a rental where you can't drill a mug rack into the wall, you still have plenty of options:
- Under-shelf hanging hooks: S-hooks that clip onto an existing cabinet shelf create a hanging row for mugs underneath — no drilling, no adhesive, and they remove in seconds.
- A freestanding mug tree or mug rack on the cart or tray — holds 4–6 mugs in a tiny footprint and looks deliberate rather than cluttered.
- Stackable mug organizers that let you nest two mugs per shelf slot, doubling cabinet capacity.
- Command-hook mug storage inside a cabinet door or on the side of a cabinet — adhesive hooks hold mugs fine as long as you respect the weight rating and let strips cure 24 hours.
More important than the method: cap the collection. Keep four to six favorites at the station and store or donate the rest — every mug beyond your weekly rotation is just taking up space. Six mugs looks curated; fourteen looks like a thrift store display.
Organize Coffee Pods, Beans, and Tea in a Small Apartment
Pod and jar organization is where a coffee station either looks tidy or looks like a pantry exploded. For pod users, a drawer-style pod organizer or a simple rotating pod carousel keeps flavors visible and contained — pick one sized for your actual pod inventory, not the 40-pod carousel when you keep twelve pods on hand. Store pods in a single layer where you can see every flavor; buried pods don't get used.
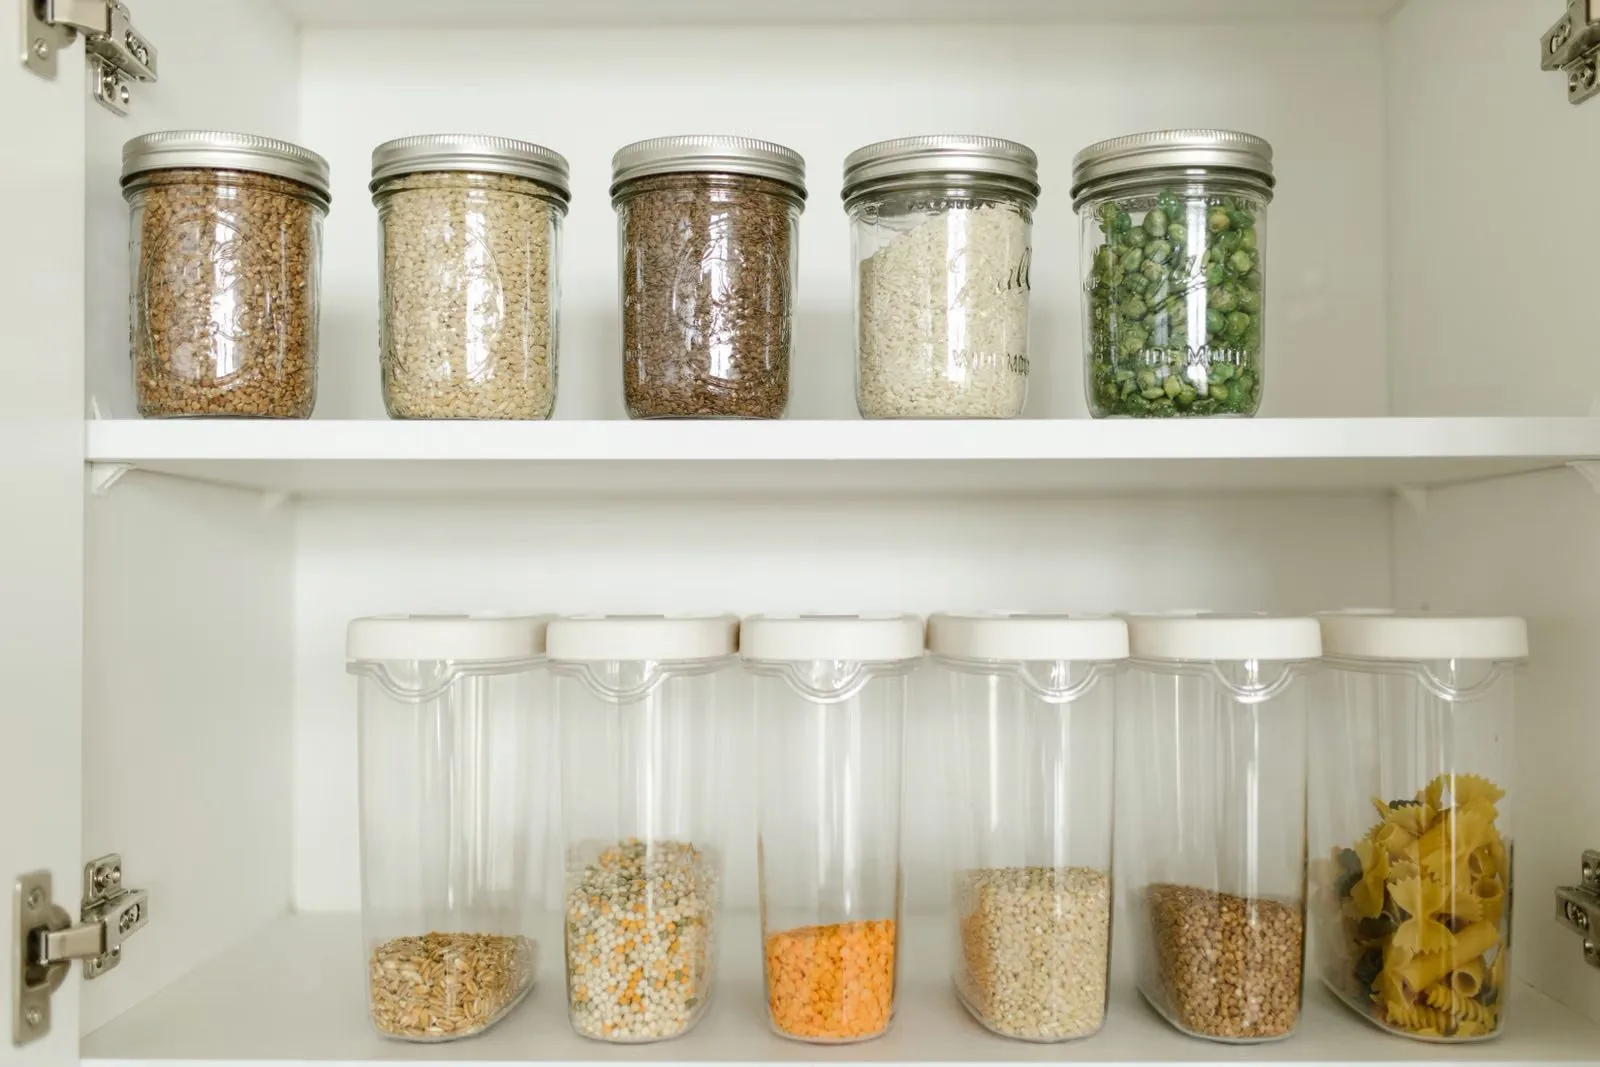
For beans and ground coffee, decant into airtight glass jars. The bags coffee comes in are bulky, ugly, and not resealable enough — a set of matching airtight canisters ($12–$20 for a set) keeps beans fresh and makes the station look cohesive. Label them with the roast or blend. Same logic for tea: a small divided box or a couple of jars beats a drawer full of crumpled tea boxes.
Keep backup supplies — extra beans, bulk pods, spare filters — somewhere else, not at the station. The station holds one week's worth; the reserve lives in a cabinet. This "active vs. reserve" split keeps the station from growing back into clutter every time you stock up.
Note: Coffee beans stay freshest in an opaque, airtight container away from heat and light — not in a clear jar on a sunny counter. If you love the look of glass jars, keep the working jar small (a few days' worth) and store the bulk of your beans sealed in a dark cabinet.
Keep the Station Tidy Long-Term
The difference between a coffee station and a coffee mess is a two-minute daily habit. Wipe the tray or cart top when you wipe the counter — coffee rings set fast and stain slow. Rinse the drip tray of the machine daily (it gets funky shockingly fast). Empty the little coffee-waste bin before it overflows, not after.
Once a month, do a five-minute audit: are there mugs at the station that never get used? Pods in flavors nobody likes? A gadget you tried once? Pull them out. Coffee stations attract "maybe I'll use it" items like magnets — the monthly purge is what keeps the station at its original, intentional size.
Also descale your coffee maker every 1–3 months. Scale buildup makes coffee taste bitter and kills machines early — and replacing a dead machine is your expense, not the landlord's. A few dollars of descaler is the cheapest maintenance in your kitchen.
Pin this: The Renter's Coffee Station Formula — 1 tray or cart (the boundary) + 1 machine + 4–6 mugs + 1 week's pods/beans in airtight jars + 1 tiny trash bin for coffee waste. Everything else is reserve storage, not station storage.
Small Variations: Tea Stations and Shared Kitchens
Tea drinkers can use the exact same framework: swap the coffee maker for an electric kettle, pods for a divided tea box, and you're done. The tray boundary, the mug cap, and the active-vs-reserve split all work identically. A kettle station is even easier since there's no drip tray to maintain.
If you share the kitchen, give each person one shelf or tier for their own pods/tea, with the machine and mugs shared in the middle — and label the personal spots. Shared stations fail when one person's twelve flavored pods colonize the whole cart.
And if your "kitchen" is really a studio corner with a mini fridge and a microwave? The rolling cart version still works — park it wherever there's an outlet and floor space, even in the living area. A coffee corner doesn't have to be in the kitchen to serve the kitchen's job. What matters is that it's one contained, intentional spot rather than appliances scattered wherever they fit.
FAQ
How do I make a coffee station with no counter space?
Use a three-tier rolling cart ($25–$60) as a complete coffee bar on wheels: machine and daily mugs on top, pods and supplies in the middle, extras on the bottom. Roll it out when you need it and park it against a wall or in a closet when you don't. Park it near an outlet, and keep a small water pitcher on the middle tier to avoid carrying the reservoir across the kitchen.
How can I hang mugs in a rental without drilling?
Use S-hooks clipped onto an existing cabinet shelf, a freestanding mug tree, stackable mug organizers inside a cabinet, or adhesive hooks on a cabinet side or door (respecting weight ratings and a 24-hour cure time). Also cap your collection at four to six daily-use mugs — fewer mugs need less storage, and the station looks curated instead of cluttered.
What's the best way to store coffee pods in a small apartment?
A drawer-style organizer or rotating carousel sized for your actual inventory — buy for the twelve pods you keep, not forty. Store pods in a single visible layer so every flavor gets used, and keep backup boxes in a cabinet as reserve stock rather than at the station. The station should hold about one week's supply; everything else is storage.
How do I keep a coffee station from getting messy?
Wipe the tray or cart top daily when you wipe the counters, rinse the machine's drip tray daily, and empty the coffee-waste bin before it overflows. Do a five-minute monthly audit to remove unused mugs, unloved pod flavors, and one-time gadgets. The tray or cart boundary does most of the work — if it doesn't fit in the station footprint, it doesn't belong there.
Can I build a coffee station in a studio apartment?
Yes — the rolling cart version works anywhere there's an outlet and a bit of floor space, even in the living area. The station is defined by containment (one cart, one tray), not by being inside the kitchen. Keep the same rules: one week's supplies at the station, reserves elsewhere, and a tiny trash bin for coffee waste so the setup stays self-contained.